2025-2026 BMW X3 HVAC Flap Linkage Not Fully Connected TSB
BMW has issued Service Information Bulletin SIB 64 05 25 for 2025-2026 BMW X3 models addressing HVAC system issues where vent air doesn't match desired temperature due to a disconnected air flap linkage. This bulletin outlines the diagnostic and repair steps.
 Sarah Mitchell2026 BMW X3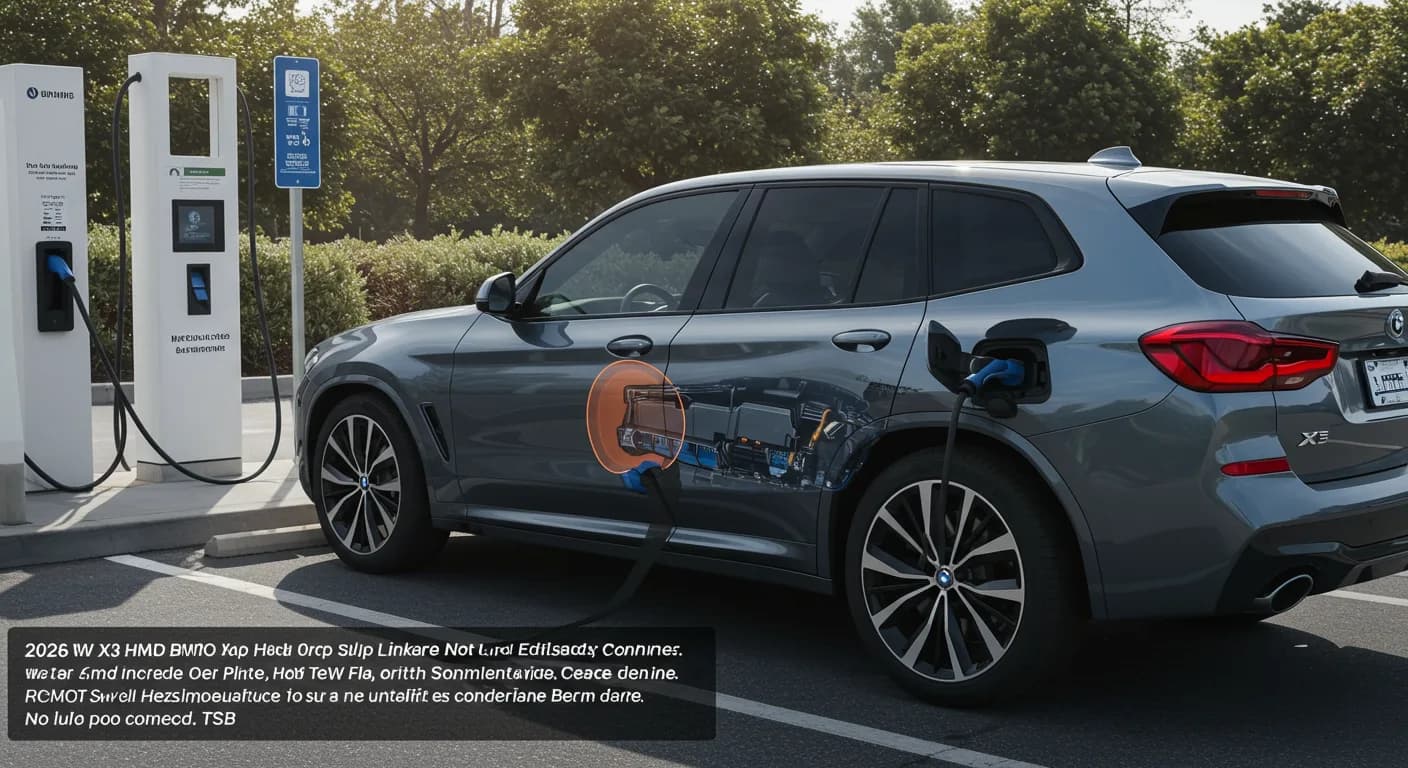
Gilt auch für
- BMW X3
- 2025
BMW has released Service Information Bulletin SIB 64 05 25 (Revision 9) to address issues with the Heating, Ventilation, and Air Conditioning (HVAC) system in certain 2025-2026 BMW X3 vehicles. This bulletin, which replaces SI B64 05 25 dated October 2025, provides comprehensive guidance for diagnosing and repairing conditions where the HVAC system does not deliver the desired air temperature. The primary concern is a 2026 BMW X3 HVAC flap linkage that is not fully connected.
Symptoms
Owners of affected 2025-2026 BMW X3 vehicles may observe specific issues with their HVAC system. The most common complaints include: "The customer states that the output air from one of the vehicle vent assemblies doesn't match the desired temperature, will change temperature opposite of climate settings." Additionally, some owners report that "The customer states that the output air from one of the vehicle vent assemblies doesn't match the desired temperature, nor change from Hot/Cold." These symptoms indicate a problem with the vehicle's ability to properly control air distribution and temperature within the cabin.
Causes
The underlying causes for these HVAC performance issues have been identified as two main factors:
- Incorrect Wiring: The center vent temperature sensor wiring harness may be incorrectly pinned. This can lead to inaccurate temperature readings and improper climate control operation.
- Loose Air Flap Linkage: The air flap linkage may not be fully locked into the air mixing flap within the HVAC system. BMW specifically notes that the linkage connection to the right front mixed air flap (5B) is a common point of failure, often found loose in many vehicles. This loose connection prevents the flap from moving correctly, leading to temperature control problems.
This issue with the 2026 BMW X3 HVAC flap linkage can occur with any of the flaps in the HVAC system, not just the right front mixed air flap.
Important Warnings and Owner Information
Owners and technicians should be aware of several critical points outlined in SIB 64 05 25 to ensure proper diagnosis and repair:
- Evaluation is Key: After the initial inspection (Step #1), it is crucial to "STOP & Evaluate After Step #1. Proceed ONLY if Necessary!" This prevents unnecessary work if the linkage is not the root cause.
- Simultaneous Action Required: During the repair process, "STEPS #6 & #7 MUST be done simultaneously! Use a partner if necessary!" This emphasizes the need for coordinated effort to properly re-engage the flap linkage.
- Engagement Confirmation: If the linkage is "not fully engaged, you will be able pull it out again with only low to medium force (vs high force)." This provides a clear test for successful engagement.
- Risk of Partial Engagement: "Partial engagement already has some tension which may give the feeling of FULL engagement even if NOT FULLY engaged! When, not completely engaged, the function could even be ok for several cycles/rotations before it will eventually fail again. This is why you must be certain!" This highlights the importance of thoroughly confirming full engagement to prevent recurring issues.
HVAC Flap Linkage System Overview
The BMW G45 HVAC system utilizes various air flaps and stepper motors to precisely control air distribution and temperature. Understanding these components is crucial for diagnosing and repairing the 2026 BMW X3 HVAC flap linkage issue. The system includes multiple flaps, each with a specific function and controlled by one or more stepper motors. The connection between these flaps and their controlling motors is often via a push-pin linkage mechanism. The bulletin includes detailed diagrams and images of the G45 HVAC unit, illustrating the location and kinematics of each flap and its corresponding stepper motor.
The following table provides an overview of the air flaps and their corresponding stepper motor control information:
| Vent Flap # | Vent Flap Description | Vent Flap Visibility (for push pin) | Motor Position # | Electrical ID | Motor Control Desc |
|---|---|---|---|---|---|
| 1 | Fresh Air Flap | Easily Visible: Just inside of HVAC | 13 | M 16 (Shared) | Fresh Air / Recirculated Air Distribution |
| 2 | Recirculated Air Flaps x2 (connected) | Easily Visible: Just inside of HVAC | 13 | M 16 (Shared) | Fresh Air / Recirculated Air Distribution |
| 3 | Defrost Air Flap | Easily Visible: Just inside of HVAC | 10 | M 61 | Defrost Air Distribution |
| 4A | Front Cold Temp. Mixing Flap LEFT | Difficult: Borescope through open Flap #3 | 2 | M 23 (Shared) | Front Temperature Mixing LEFT |
| 4B | Front Cold Temp. Mixing Flap RIGHT | Difficult: Borescope through open Flap #3 | 9 | M 83 (Shared) | Front Temperature Mixing RIGHT |
| 5A | Front Warm Temp. Mixing Flap LEFT | Difficult: Borescope through open Flaps #7 | 2 | M 23 (Shared) | Front Temperature Mixing LEFT |
| 5B | Front Warm Temp. Mixing Flap RIGHT | Difficult: Borescope through open Flaps #7 | 9 | M 83 (Shared) | Front Temperature Mixing RIGHT |
| 6A | Front Footwell Air Flap LEFT | Easily Visible: Just inside of HVAC | 5 | M 21 | Front Footwell Air Distribution LEFT |
| 6B | Front Footwell Air Flap RIGHT | Easily Visible: Just inside of HVAC | 4 | M 7 | Front Footwell Air Distribution RIGHT |
| 7A | Front Center Vent Air Flap LEFT | Easily Visible: Just inside of HVAC | 7 | M 20 | Front Center Vent Air Distribution LEFT |
| 7B | Front Center Vent Air Flap RIGHT | Easily Visible: Just inside of HVAC | 12 | M 22 | Front Center Vent Air Distribution RIGHT |
| 8A | Front Side Vent Air Flap LEFT | Easily Visible: Just inside of HVAC | 3 | M 020 | Front Side Vent Air Distribution LEFT |
| 8B | Front Side Vent Air Flap RIGHT | Easily Visible: Just inside of HVAC | 11 | M 022 | Front Side Vent Air Distribution RIGHT |
| 9 | Rear Upper Vent Flap (Center Console) | Easily Visible: Just inside of HVAC | 1 | M 084 (Shared) | REAR Air Distribution |
| 10 | Rear Cold Temp. Mixing Flap | Difficult: Borescope through open Flap #9 | 8 | M 024 (Shared) | REAR Temperature Mixing |
| 11 | Rear Warm Temp. Mixing Flap | Other: No direct push pin (tied to Flap #10) | 8 | M 024 (Shared) | REAR Temperature Mixing |
| 12 | Rear Footwell Air Flaps L/R x2 (connected) | Easily Visible: Just inside of HVAC (D.S) | 1 | M 084 (Shared) | REAR Air Distribution |
| 13 | Indirect Air Flap | N/A: Different connection type (no push pin) | 6 | M 197 | Indirect Air Distribution |
Repair Procedure Summary
The repair for the 2026 BMW X3 HVAC flap linkage issue, as detailed in SIB 64 05 25, involves a multi-step process to ensure the air flap linkages are correctly seated and the wiring is intact.
Initial Checks and Diagnosis
- Wiring Inspection: Technicians must first check the wiring between the BCP (Body Control Processor) and the center driver and passenger vent temperature sensors (B151 and B152). This includes verifying specific pin connections: Module A528 BCP A5287B pin 12 to B151 Vent Temp Sensor Left Front pin 3; Module A528 BCP A5287B pin 10 to B151 Vent Temp Sensor Left Front pin 1; Module A528 BCP A5287B pin 10 to B152 Vent Temp Sensor Right Front pin 1; and Module A528 BCP A5287B pin 13 to B152 Vent Temp Sensor Right Front pin 3. Technicians should also check for any swapped wiring at connector x1559*1B, which is in line between the BCP and the vent temperature sensors. Reference to Wiring diagram SSP-SP0000074179 is required for detailed wiring information.
- Linkage Assessment: The next step is to check that the air flap linkage has not come loose from the flap in the heating, ventilation, and air conditioning (HVAC) system. Special attention is given to the right front mixed air flap (5B), which is a common point of failure. A visual inspection, possibly with a borescope, is recommended to confirm the loose condition. The bulletin notes that this issue can occur to ANY of the flaps in the HVAC system.
Detailed Repair for Loose Linkage (Focus on 5B Flap)
If a loose linkage is confirmed, particularly for the 5B flap, the following procedure is to be followed, as detailed in the "G45 HVAC: UPDATED MIXING FLAP 5B INSTRUCTIONS" attachment:
- Confirm Loose Linkage (Step #1): Begin by removing the RIGHT, side under-dash panel and footwell duct. Visually inspect and gently wiggle the linkage connecting arm between the cold and warm mixing flaps. Look for excessive looseness at the lower end of the arm and directly at the warm mixing flap pin/linkage (connection to the warm mixing flap 5B). A borescope can be helpful here. Refer to the reference picture "D- Under-dash & Footwell Duct" for removal guidance and video "BV640525 Confirm warm mix linkage and flap is loose.MOV" for visual confirmation of looseness. In some cases, removing stepper motor #11-M022 (which controls the RIGHT, side vent air flap #8B) may be necessary for better access and inspection. Refer to pictures "FA/B- Remove MOTOR #11-M022" and "G-RH Temperature Mixing Complete Kinematics" and video "BV640625 Confirm warm mix linkage and flap is loose motor removed.MOV" for this step.
- Disassembly (Step #2): Carefully remove any additional components required to gain full access, such as the Upper Instrument Panel (IP) skin. Please refer to AIR Premium Repair Instructions 51 45 051 | REP-REP-P-5145051-G45 - V.2 for detailed removal steps.
- Create Access for Counterforce (Steps #3, #4, #5):
- Using an OBD/ISTA diagnostic tool, fully OPEN the front RIGHT, center vent air flap #7B (controlled by stepper motor #12-M22) to 100%. This creates a pathway for a tool to apply counterforce. Refer to reference picture "H- OPEN Right Side Center Air Vent Flap #7B".
- Next, fully CLOSE the front RIGHT, warm mixing flap #5B and cold mixing flap #4B (controlled by stepper motor #9-M83) to 0%. This positions the flap for re-engagement. Refer to reference picture "I- CLOSE Right Warm Mixing Flap #5B". Note that these flaps are NOT visible from outside the HVAC box.
- Ensure stepper motor #11-M022 is removed if it was not already, as it provides access to grab the warm mixing linkage. Refer to reference pictures "FA & FB- Remove MOTOR #11-M022".
- Also, via OBD/ISTA, OPEN the Front RIGHT, Footwell Flap #6B (controlled by stepper motor #4-M7). This will allow for visual checks with a borescope or mirror. Refer to reference picture "J- OPEN Front RIGHT, Footwell Flap #6B".
- Apply Counterforce (Step #6): Pass the shaft of a flathead screwdriver through the opened vent flap #7B and align it with the solid plastic ribs on the closed warm mixing flap #5B. Wedge or pry the screwdriver firmly outboard to provide significant counterforce to the flap. This is crucial to prevent the flap from moving inward during linkage re-engagement. Refer to reference pictures "L- Position screwdriver through center vent, hole, and align to flap #5B" and "M- Wedge/Pry Locations on Warm Mixing Flap #5B".
- Engage Linkage (Step #7): While maintaining the outboard counterforce with the screwdriver, firmly push the warm mixing pin/linkage (5B) hard inboard until its mushroom head is fully secured completely over the ramp on the flap. This step requires simultaneous action from both hands, or ideally, two people. Refer to videos "BV640725 Flap held secure during linkage install.MOV" (outside view) and "BV640825 Flap held secure during linkage install.MOV" (inside view). If you FAIL to secure/provide significant counterforce, the pin/linkage may not fully engage, even if it feels like it is. For views of loose linkage, refer to videos "BV640325 Linkage NOT fully engaged even with hard push yet appears ok.MOV" (outside) and "BV640425 Linkage NOT fully engaged even with hard push yet appears ok.MOV" (inside).
- Confirm Full Engagement (Step #8): Visually verify that the pin/linkage mushroom head is FULLY over the ramp on the flap. This can be done using an articulating borescope or a mirror through the RIGHT, side footwell flap #6B. Refer to reference pictures "A, B, & C- Fully Engaged vs NOT Fully Engaged" for visual examples. Additionally, manually pull on the fully seated pin/linkage to ensure it is secure and cannot be easily dislodged with low to medium force (it should require high force). Refer to videos "BV640925 Linkage NOT fully engaged appears ok Actually NOK.MOV" and "BV641025 Linkage NOT fully engaged appears ok Actually NOK.MOV" for low force examples, and "BV641125 Hard to pull out once fully engaged OK.MOV" for a high force example.
- Test Cycle and Re-check (Step #9): Reinstall stepper motor #11-M022. Perform a normal stepper motor calibration. Then, use ISTA to test cycle stepper motor #9-M83 (full cycle 0% to 100%). This test cycle should be repeated 30 times, as failure may only occur after several cycles if the pin/linkage is not properly/fully engaged. After the test cycles, reconfirm the linkage engagement both visually and manually to ensure it remains fully seated. The same videos for engagement checks from Step #8 apply here.
- Reinstallation (Step #10): Once all checks are complete and the 2026 BMW X3 HVAC flap linkage is confirmed to be fully engaged, carefully reinstall the IP cover and all other removed components.
Required Tools or Parts
The repair procedure primarily focuses on re-engaging existing components rather than replacing them. However, specific tools and diagnostic equipment are required:
- Flathead Screwdriver: Essential for applying counterforce during the linkage re-engagement process.
- Flashlight: Helpful for illuminating the work area and ensuring proper alignment.
- Borescope/Mirror: Recommended for visual inspection and confirmation of full linkage engagement, especially in hard-to-reach areas.
- OBD/ISTA Diagnostic Tool: Required for opening and closing specific flaps, running stepper motor calibration, and performing test cycles.
- Special Tools: While not explicitly listed as a part number, the process implies the need for tools to remove interior trim panels and access the HVAC unit.
Claim Information and Warranty
Repairs addressing a verified defect in materials and/or workmanship, as described in SIB 64 05 25, are covered under the terms of the BMW New Vehicle Limited Warranty for Passenger Cars and Light Trucks. To submit a claim, the corresponding labor operation codes and flat rate unit (FRU) allowances must be obtained. The specific Repair Code for this issue is 6411693700, labeled as "Stratification/ventilation flap, heater/heat exchanger Loose." Associated labor operations and their allowances include:
- 00 00 006: Carrying out vehicle test (Main work) - As applicable
- 00 00 556: Carrying out vehicle test (Plusposition work) - As applicable
- 61 21 528: Supporting voltage of the vehicle electrical system / - As applicable
- 61 00 006: Carrying out vehicle diagnosis, ABL (Work time) - WT FRU
- 00 58 500: Diagnosis Worktime Flat Rate - 2 FRU
- 51 45 551: Replace (For access only) dashboard trim, upper section Plusposition - As applicable
- Refer to AIR: Additional related access and repair work - As applicable
Only one Main labor operation code can be claimed per repair visit. For specific procedures on documenting, claiming, and explaining diagnosis work time and job/repair work time, technicians should refer to SI B01 01 20 or B01 07 20.
NHTSA ID: 11025683
Frequently Asked Questions
- What are the symptoms of a 2026 BMW X3 HVAC flap linkage issue?
- Owners may notice that the air output from the vents does not match the desired temperature, changes opposite of climate settings, or there's no change between hot and cold air, indicating a problem with the 2026 BMW X3 HVAC flap linkage.
- What is BMW TSB SIB 64 05 25 about?
- BMW TSB SIB 64 05 25 addresses HVAC system malfunctions in 2025-2026 BMW X3 vehicles caused by incorrectly pinned temperature sensor wiring or a loose air flap linkage, providing a detailed repair procedure.
- How is the 2026 BMW X3 HVAC flap linkage problem repaired?
- The repair involves checking wiring, re-engaging the loose air flap linkage (especially the right front mixed air flap 5B) by applying counterforce and pushing the pin firmly, and then performing system tests to ensure full engagement, as outlined in SIB 64 05 25.
Related Articles
2026 BMW X3 Delivery Stop: Wiring Harness Routing
BMW has issued a delivery stop, SIB 12 04 26, for certain 2026 BMW X3 (G45) vehicles. The issue involves a misaligned clip on the Engine Sensor 2 wiring harness, which could cause damage and lead to cooling system failure. Vehicles cannot be delivered until this pre-delivery repair is completed.
2025-2026 BMW 2 Series / X3 Ambient Lighting Malfunction TSB
BMW Service Information Bulletin SIB 63 09 25 details a fix for interior ambient lighting malfunctions in 2025-2026 BMW 2 Series Gran Coupe (F74) and X3 (G45) vehicles. This issue, often indicated by "Interior lights layering (IL-LIN_3): versioning incorrect" fault codes, occurs after programming…
2025 BMW X3 Delivery Stop: Steering Gear Fault
BMW has issued a delivery stop, SIB 32 02 26, for certain 2025-2026 X3 models. The issue involves a potentially faulty steering gear sensor, which can lead to a "Check Control message" and a "minimally changed steering feel". This bulletin outlines the repair procedure, which involves replacing…
2025 BMW X3 Underbody Baffle Sealing Service Action
BMW has announced a service action for certain 2025 X3 vehicles concerning the underbody baffles. These baffles may not completely prevent water ingress, leading to potential issues. Owners are advised to contact an authorized BMW center for a free re-sealing repair.
2025 BMW X3, 2 Series Ambient Lighting Malfunction TSB
BMW has released Service Information Bulletin SIB 63 09 25 to address issues with interior ambient lighting in 2025 BMW X3 and 2 Series Gran Coupe vehicles. Owners may experience non-functional lighting strips after a software update, often indicated by fault codes such as 804A38, 804A39, 804A3E…
Leave a comment
Comments are moderated and may take a moment to appear. Only your first name and the initial of your last name are shown publicly.
Comments
Be the first to comment.